Install and connect
Install the Fullmetrix connector and connect your PrestaShop store step by step.
This guide uses the official Fullmetrix connector. Keep the ZIP archive intact. PrestaShop installs it directly.
Before you start
Sign in to Fullmetrix and to the PrestaShop back office. Check compatibility before continuing.
1. Prepare the connection in Fullmetrix
Select PrestaShop
In the Fullmetrix onboarding, select PrestaShop as your store platform.
Download the connector
Click the plugin download button and keep the downloaded ZIP file. Do not extract it.
Copy the connection code
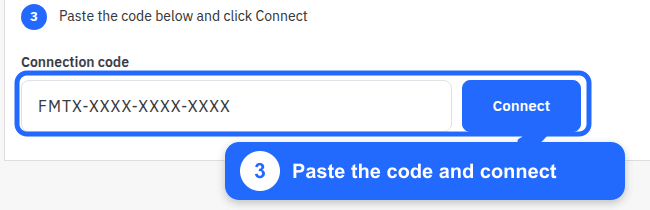
Copy the code displayed by Fullmetrix. Its format is FMTX-XXXX-XXXX-XXXX.
Keep the code private
Use the code only on the store you are connecting. Do not send it in a ticket or include it in a screenshot.
2. Install the connector in PrestaShop
Open the Module Manager
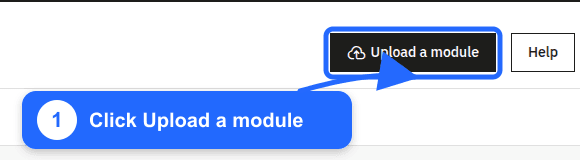
In the PrestaShop back office, open Modules > Module Manager. Click Upload a module.
Upload the ZIP archive
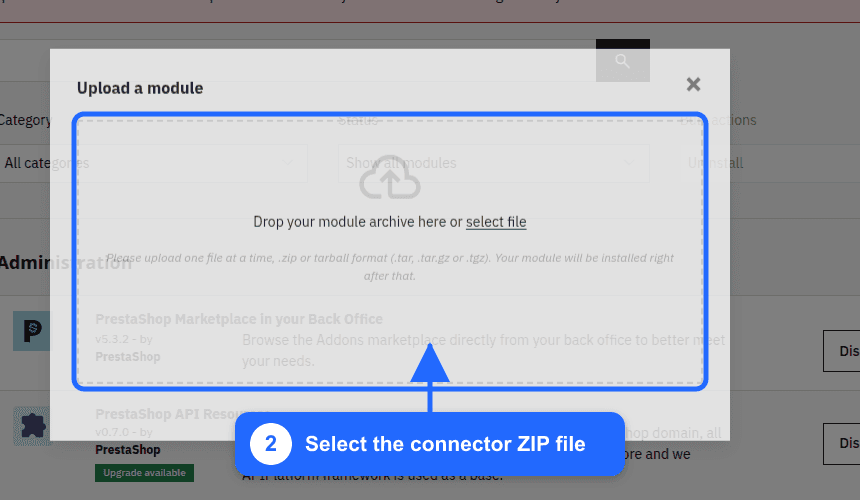
Drop the connector ZIP into the upload area, or click select file and choose it. Wait until PrestaShop confirms that the module is installed.
Open the module configuration
If PrestaShop does not open it automatically, return to Module Manager, search for Fullmetrix, then click Configure.
3. Connect the store
Check the result
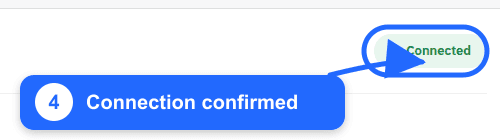
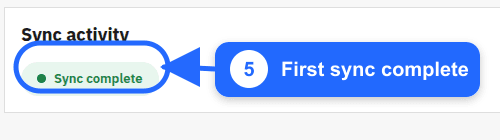
The module must show Connected. After the initial import finishes, Sync activity shows Sync complete.
Your store is connected
Return to Fullmetrix. The onboarding continues automatically and your dashboards populate as the historical import progresses.
If the module displays an error, use PrestaShop troubleshooting.