Install and connect
Download the Fullmetrix plugin, install it in WordPress and connect your WooCommerce store, screen by screen.
This guide takes you from downloading the plugin in Fullmetrix to the confirmation that your store is connected. It is written for someone installing a WordPress plugin for the first time. Allow about ten minutes.
Keep two tabs open side by side. One on Fullmetrix, the other on your WordPress admin (its address usually ends with /wp-admin).
Before you start
Log in to WordPress with an administrator account and check that WooCommerce is activated. If your hosting is unusual, read Compatibility first.
Step 1. Prepare the connection in Fullmetrix
Choose WooCommerce
During onboarding, the Connect your store screen lists the platforms. Click WooCommerce.
If you have already finished onboarding, open Settings in the sidebar, then the Integrations tab. In the E-commerce category, click Connect (or Add a store if a store is already linked), then choose WooCommerce.
Fullmetrix shows "Generating connection code..." for a second or two.
Download the plugin
The screen shows two numbered blocks. In the first one, Install and activate the plugin, click Download plugin. The plugin version number is shown to the right of the button.
Your browser saves a file named fullmetrix.zip, usually in your Downloads folder. Do not open it or unzip it. WordPress needs the ZIP file exactly as it is.
You can also skip this download and install the plugin from the WordPress plugin directory, as explained in step 2.
On a Mac with Safari
Safari can unzip downloaded files automatically. If you find a fullmetrix folder instead of a ZIP file, open Safari settings, turn off opening safe files after downloading, then download the plugin again.
Copy the connection code
In the second block, Paste the connection code, click the code. It is copied to your clipboard and the button shows "copied" for two seconds.
The code looks like FMTX-7K3M-Q9WD-B4HT. It never contains the letters I and O or the digits 0 and 1, so there is no confusion if you have to type it by hand.
Below the two blocks, a box reads Waiting for plugin connection. Leave this tab open. It updates by itself at the end of step 3.
Keep this code to yourself
The code links a store to your organization. Do not publish it, do not include it in a shared screenshot, and use it on one store only.
Step 2. Install the plugin in WordPress
Pick one of the two methods. They install the same plugin.
Open the add plugin page
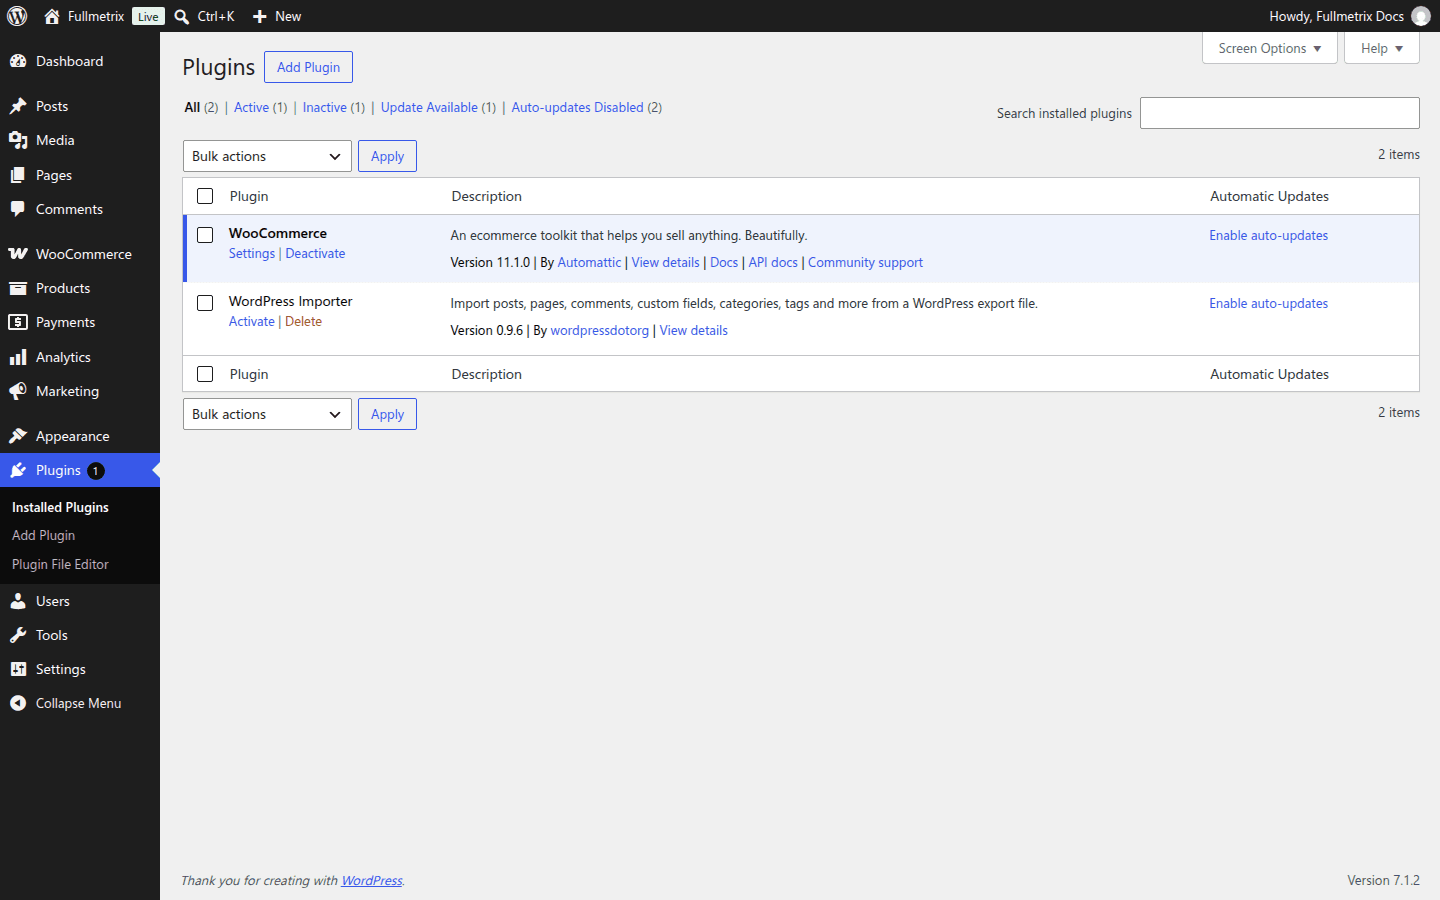
In the WordPress left menu, hover over Plugins, then click Add New Plugin (called Add Plugin or Add New depending on your WordPress version).
Upload the ZIP file
At the top of the page, click Upload Plugin. A panel appears. Click Choose File, select fullmetrix.zip in your Downloads folder, then click Install Now.
Activate the plugin
WordPress shows "Plugin installed successfully." Click Activate Plugin.
If WordPress shows "Fullmetrix Connector requires WooCommerce to work.", WooCommerce is not active on this site. Activate WooCommerce first in Plugins, then activate Fullmetrix again.
Step 3. Connect the store
Open the Fullmetrix page
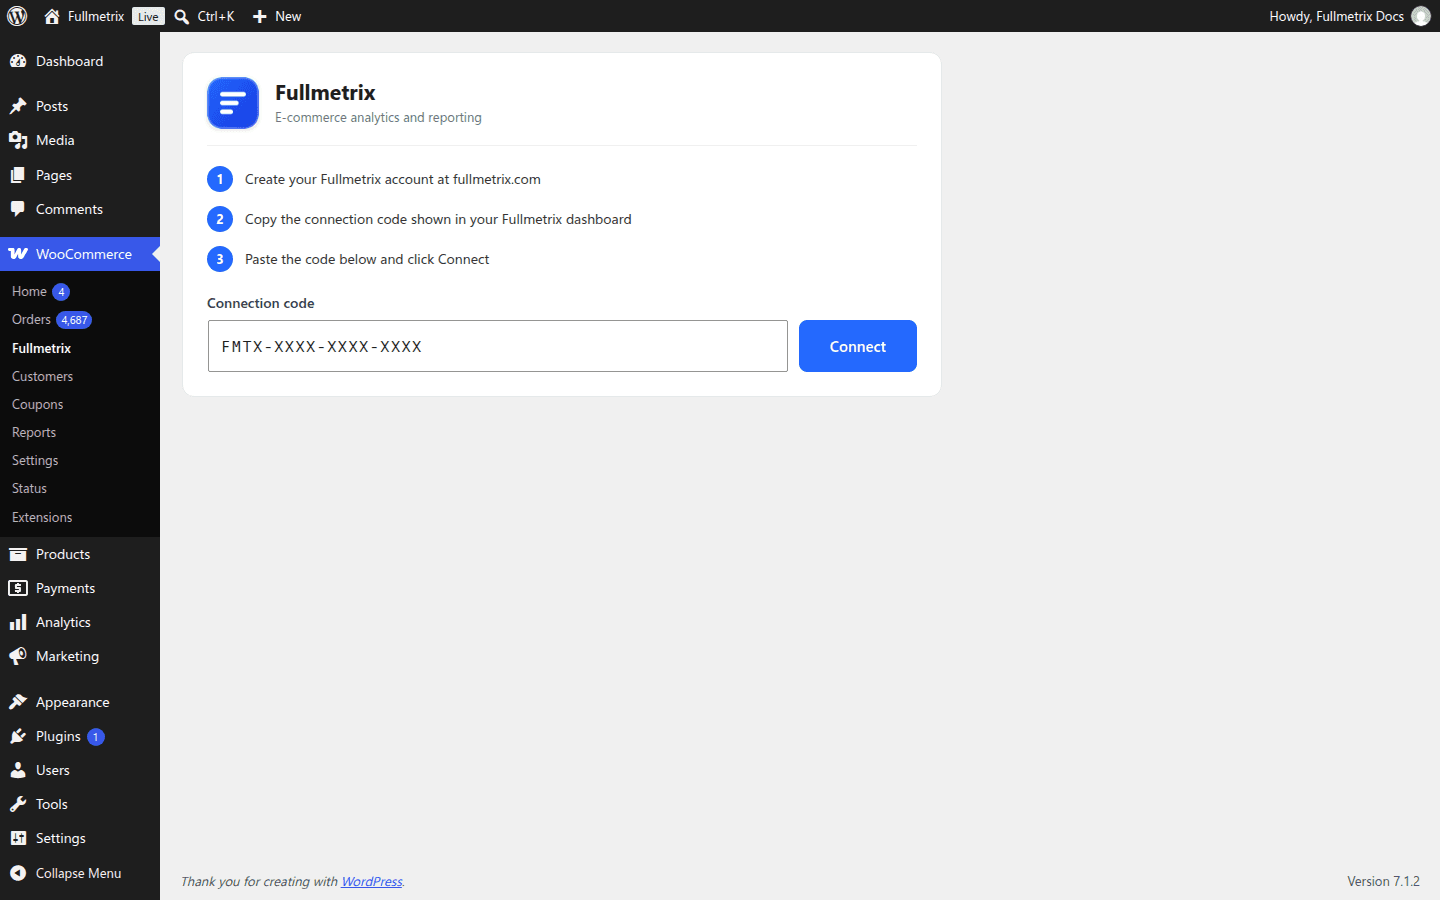
In the left menu, hover over WooCommerce, then click Fullmetrix. If the entry does not appear, reload the page once.
Read the plugin page
The page shows the Fullmetrix logo, the line "E-commerce analytics and reporting" and three reminder steps at the top. Below them are the Connection code field and the Connect button.
Paste the code and click Connect
Click in the Connection code field and paste the code copied in step 1 (Ctrl+V on Windows, Cmd+V on Mac). Check that it starts with FMTX- and has no space before or after it. Click Connect.
Check the success message
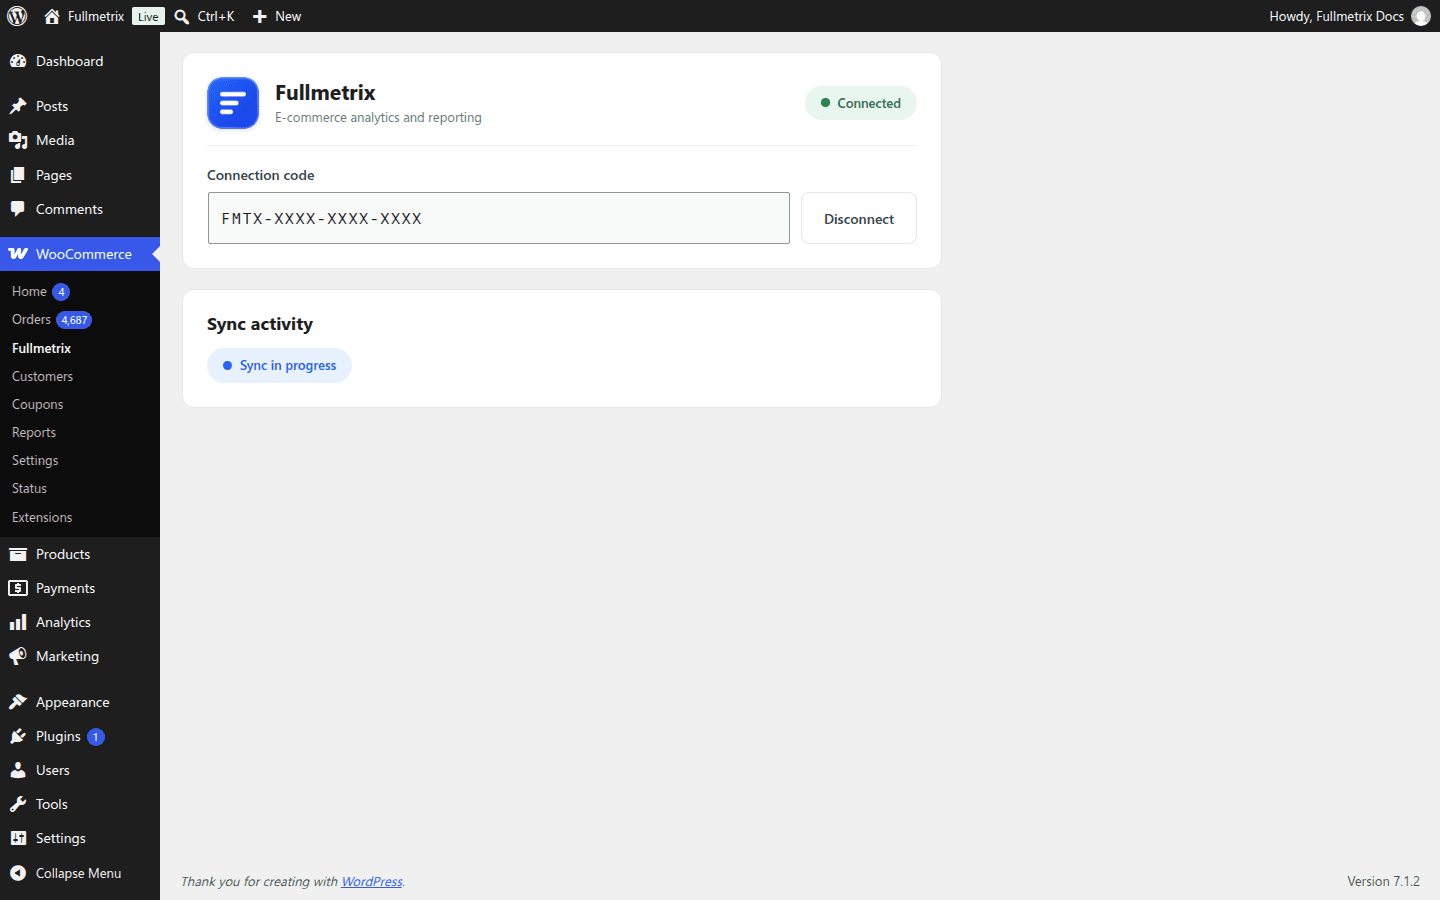
When everything worked, a green banner reads "Connection successful! Your store is now connected to Fullmetrix." A green Connected badge appears to the right of the logo, and the code is shown read-only next to the Disconnect button.
If a red banner appears instead, note its exact text and look it up in the Troubleshooting table.
Follow the sync activity
Below the connection, the Sync activity block shows one of three states.
- Waiting for sync until Fullmetrix starts the import. That is normal for the first few minutes.
- Sync in progress while Fullmetrix reads the store's data.
- Sync complete when the import is done, with the number of orders, products, categories, customers and coupons sent.
You do not need to wait for the end before moving on. Do not disconnect the plugin during the import.
Step 4. Confirm in Fullmetrix
Go back to the Fullmetrix tab. Without reloading the page, the box turns green and reads Plugin connected, with the message "Great, your trial is active and the first sync has started. We are preparing your data." Onboarding then moves to the Preparing step.
The Preparing your workspace screen shows the progress of the import of orders, products, customers and revenue history. You can wait for it to finish or click Go to dashboard anyway. The import then keeps running in the background and your numbers fill in as it goes.
If you went through Settings, then Integrations, the window reads "Plugin connected. Import has started, you can close this window." Your store card then shows an Import in progress bar with a percentage.
Your store is connected
The plugin takes care of everything from now on. You no longer need to open its page, except to check its status or disconnect it.
What Fullmetrix takes from your store
When you connect, the plugin sends the currency, time zone and price format set in WooCommerce. If you skipped the Settings onboarding step, Fullmetrix applies them to your organization. If you already chose a time zone or currency yourself, your choices are kept. You can change them at any time, see General settings.
Update the plugin
If you installed the plugin from the WordPress directory, updates appear in Plugins like any other plugin. Click Update now.
If you installed it with the ZIP file, download the new version from Fullmetrix and upload it as in step 2. WordPress detects that the plugin already exists and offers Replace current with uploaded. Accept. The connection is kept and you do not need to paste the code again.